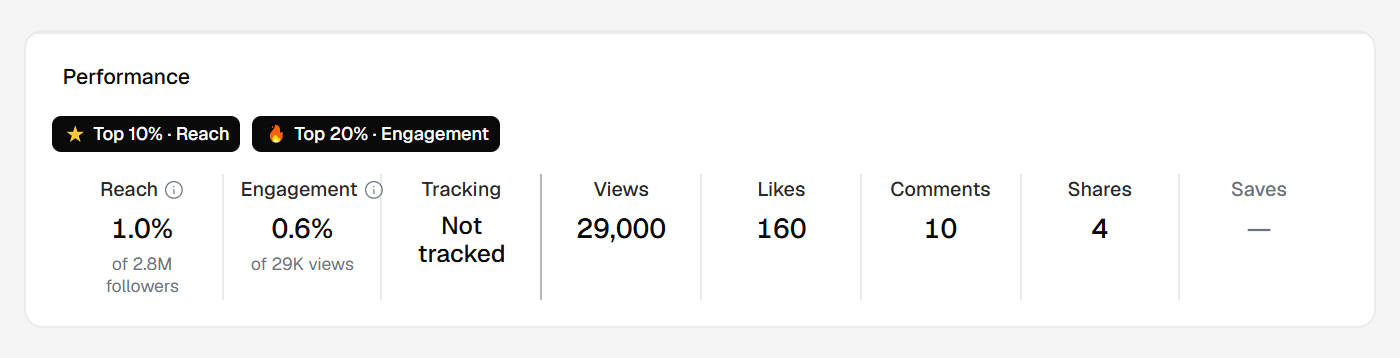
⭐ Top 10% and 🔥 Top 20%
Every winner badge comes in one of two tiers, and the tier tells you how far the post beat the profile's own threshold:
- ⭐ Top 10% — the post is among the profile's very best. It cleared the higher of the profile's two thresholds.
- 🔥 Top 20% — a strong post, in the profile's top tier but below ⭐. It cleared the lower of the two thresholds but not the higher one.
Both are measured against the profile's own history, the way all calibration works. Top 10% always means top 10% for this profile, never against other profiles.
The word for the number a post has to beat is the threshold.
Your reports call the same idea the line, and so does the badge tooltip in the app — see the dictionary.
The two tiers are per axis
The tiers apply to each axis separately. A post is judged for Reach and for Engagement independently, and it can land a different tier on each. So one post can end up with:
- ⭐ Top 10% Reach and ⭐ Top 10% Engagement
- ⭐ Top 10% Reach and 🔥 Top 20% Engagement (or any mix)
- a badge on one axis and nothing on the other
- no badge at all
Within one axis the two tiers never overlap: a post is ⭐, or 🔥, or unbadged there — never two at once. A post carrying a badge on both axes is a Double Winner, the premium signal.
A smaller profile can out-badge a bigger one
Because the tiers are drawn against each profile's own threshold, tier has nothing to do with audience size. A 4,000-follower profile's post can earn ⭐ Top 10% while a million-follower profile's post earns only 🔥, or nothing at all. Each one cleared, or didn't clear, its own threshold.
Reading the badge
On a feed row the badge shows the axis in words, Engagement or Reach, with the tier glyph, ⭐ or 🔥.
Hover it and a tooltip shows what the post beat: its value as a multiple of the threshold, the value it hit, the threshold it cleared, and when. The value and the threshold are frozen at the moment the badge was earned — see a badge only upgrades — it never drops.