Get your Gemini key
Everything happens inside Google AI Studio. The billing account behind it is a Google Cloud one, but you never open the Cloud console yourself.
Four steps, and the order is the whole trick: a project, billing on that project, credit, then the key. Make the key first and Huntit refuses it — we test every key with a small real request when you save, and a project with no credit behind it can't answer one.
Make a project
Sign in at aistudio.google.com. It takes a Google account only, so use — or create — your agency's, not a personal one.
Open Dashboard → Projects → Create a new project. A project is just the folder your key and your billing live in.
Add billing, then buy credit
On your project's row, press Set up billing and connect a billing account. If one is already selected, continue; if not, add one.
Then buy credit and turn auto-reload on. It arrives switched off, and it matters more than the amount you pick: without it, analysis stops the day the credit runs out.
Two things worth knowing:
- Credits can only be spent on the Gemini API, and they expire a year after the purchase date.
- The paid tier is contractually excluded from training Google's models, while free-tier prompts may be used to improve them. Your agency's client data goes through Huntit's AI, so that's reason enough on its own.
Make the key
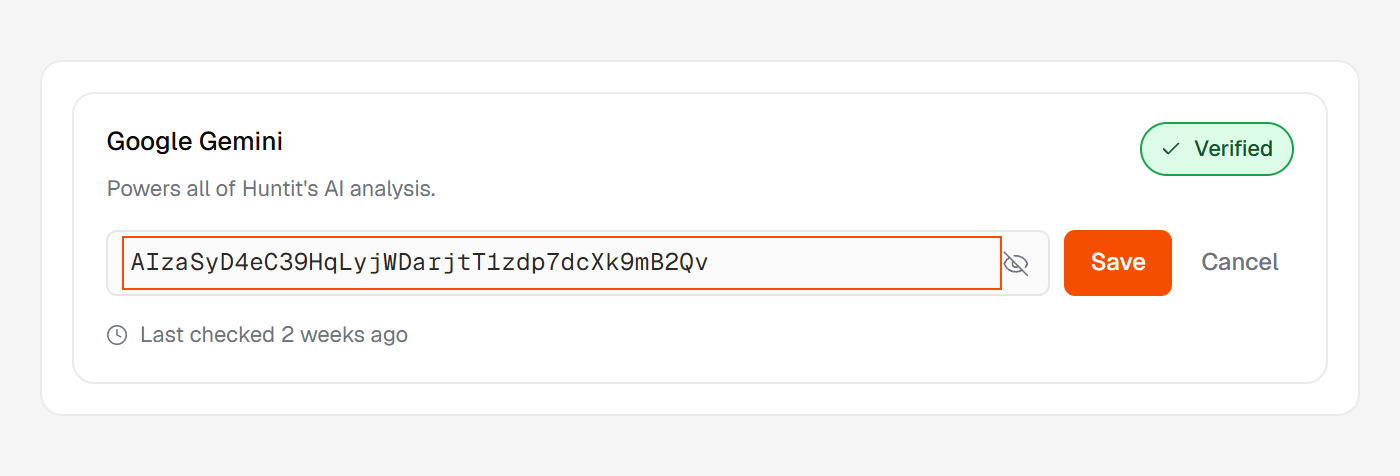
Back on your project's row, press Create API key. Copy the key, paste it into Huntit, and save.
If it's refused, the note under the field says why — reading your key states maps each message to its fix.
If the account runs out of credits later, AI analysis stops while posts keep arriving. See out of Gemini credits.