Get your Apify key
Apify needs a paid plan, and that's the whole difficulty here. A free-plan key is a perfectly real key, and Huntit still turns it away — because a free plan can't carry the work Huntit asks of it.
Put the account on a paid plan
Sign in at console.apify.com. In Billing → Subscription, upgrade to Starter or higher. The plan renews on its own each month.
Keep an eye on the monthly usage limit, in Billing → Limits. When the account reaches it, everything that runs on Apify pauses until the next billing period — or until you raise the limit.
The limit is also your spending cap, so raise it only as far as you're comfortable paying. If the plan lapses or the limit is reached, you get a notification.
Copy your API token and paste it in
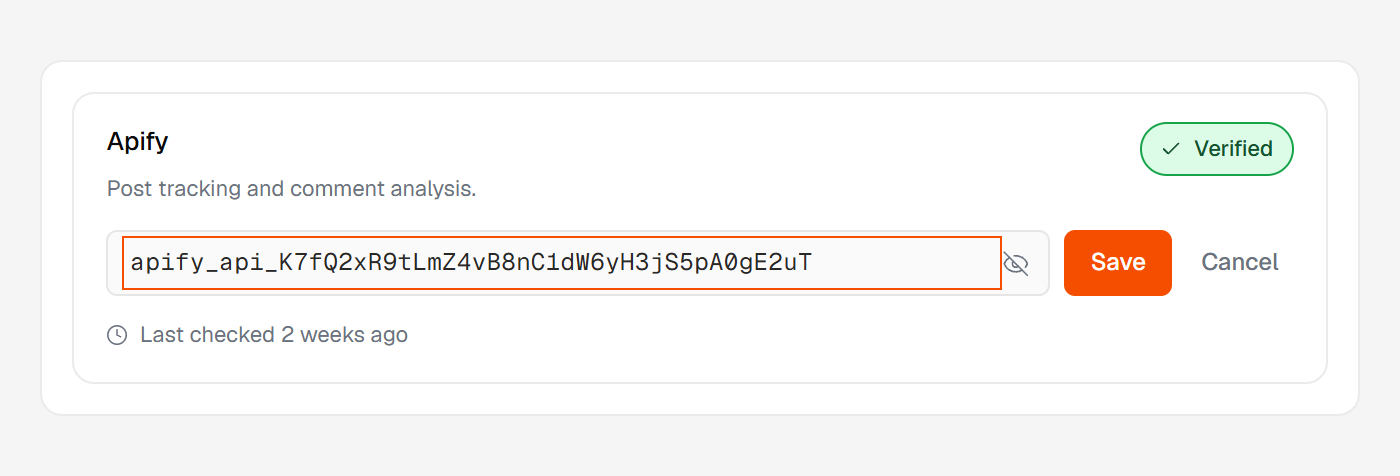
Go to Settings → API & Integrations, copy your personal API token, then paste it into Huntit and save.
Why a free key is rejected
A free-plan key passes a plain "is this key real?" test, so it looks fine. Huntit checks one thing further: whether the account can actually do the work.
Rather than accept it and let things fail quietly weeks later, setup catches it at the paste, with a note under the field:
"This Apify account is on the Free plan, so the key wasn't saved. Upgrade to a paid plan (Starter), then paste the key again."
Nothing is stored when that happens. Upgrade first, then paste the key again. What every other message under that field means is in reading your key states.