Get your BrightData key
Huntit needs an Admin key that never expires, on a funded BrightData account. Four steps get you there.
One thing to know before you start: changing a key's permissions makes BrightData issue a brand-new key and show it once. The key you copy at the end is not the one you saw at the beginning.
Create the account
Register at brightdata.com with your agency's company email, not a personal Gmail — BrightData prefers business customers. The confirmation code arrives from bright-notice.com, so check your spam folder.
The dashboard may show alarming labels along the way. Ignore them: Huntit tells you the truth about your account when you paste the key, and BrightData account troubles covers the ones that do need action.
Fund it, and turn auto-recharge on
In Billing, add your card and deposit at least $10. Then, in Billing → Payment settings, turn auto-recharge on for Proxy & Web-Scraper API/IDE and leave BrightData's balance and billing-alert emails on.
Auto-recharge is the one that matters. This account is your collection engine, and posts missed while it sits empty are gone for good. Your first deposit is also matched — the full rules are in BrightData funding rules.
Make the key Admin, never expires
In Settings → Users and API keys, open your key's menu (⋯). Choose Edit key configuration, set Permissions to Admin and Expiration to Never expires, then save.
BrightData now shows you a new key, one time only. Copy it from that dialog straight away — it can't be viewed again.
Paste it into Huntit
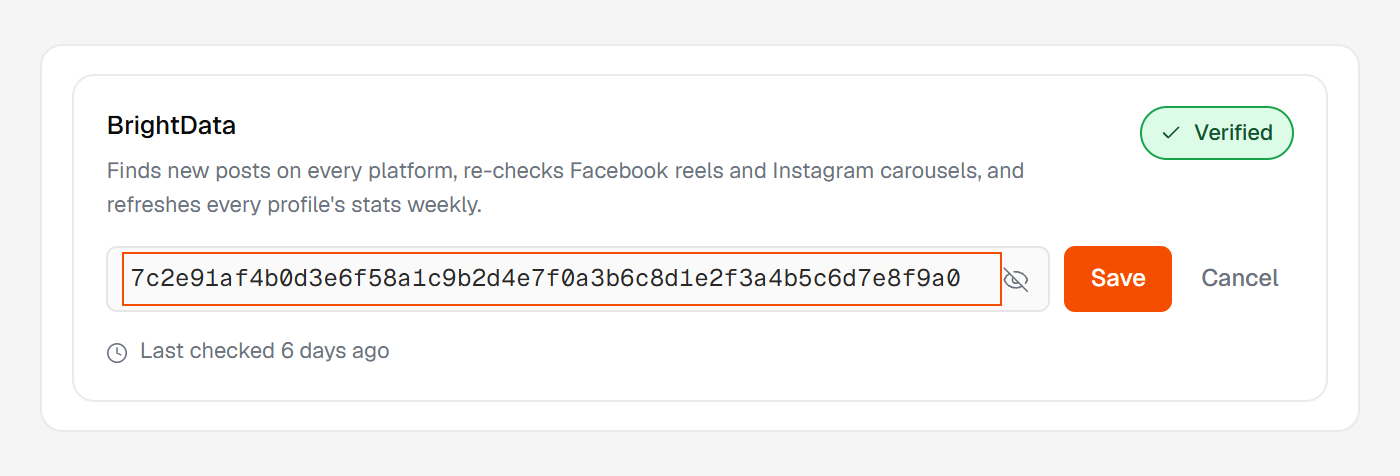
Paste that new key and save, either in the setup wizard or later under Settings → Credentials.
Huntit checks four things: the key itself, its permission level, whether the account can scrape, and the funds. If one of them is off, it says which — see reading your key states.