Adding a client
A client is the top level: the customer you track for.
You add one from the Add client form, fill a short set of fields, and Huntit creates it in about a second, then takes you to the new client page where you add brands and profiles under it.
The fields, one by one
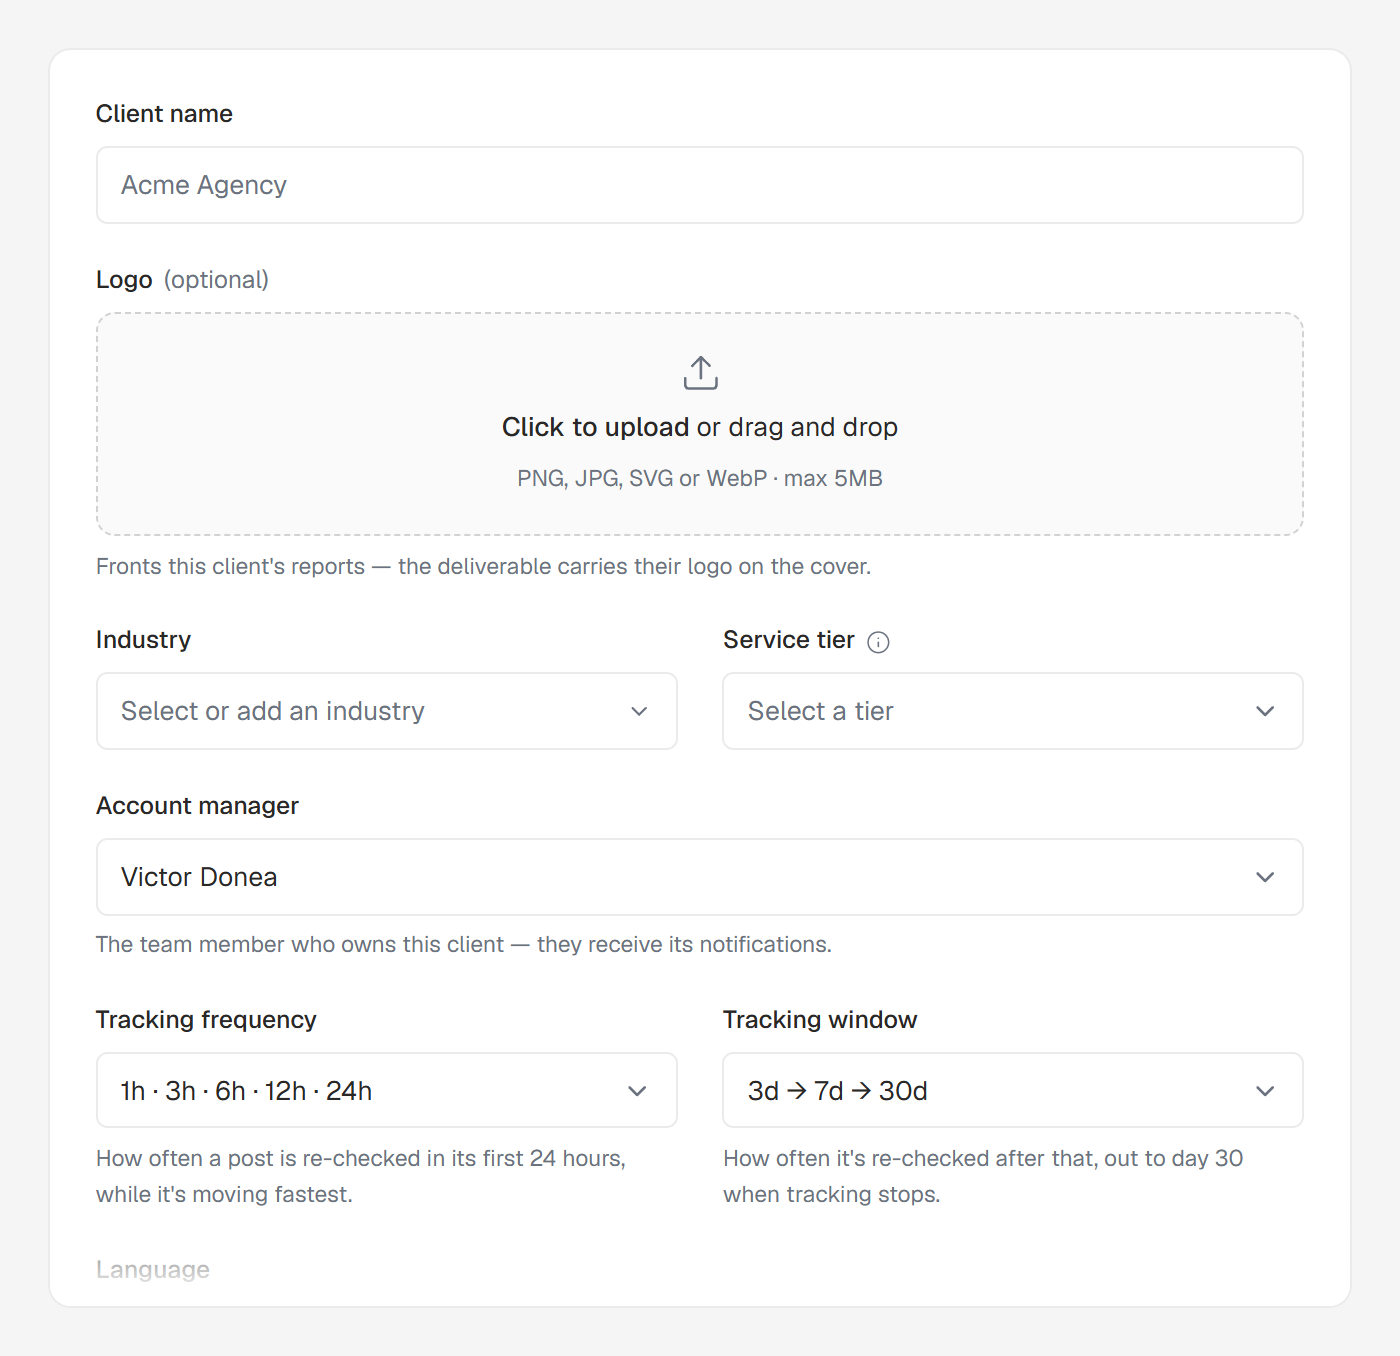
- Client name. Must be unique within your agency.
- Account manager. A required pick from your agency's members, not free text, defaulted to you. It routes this client's notifications to that person, and it does not restrict who can see the client — everyone on your agency sees every client. See account manager ≠ a permission.
- Industry. A short label from your own list.
- Language (when you have a choice). Words this client's report and every AI read of their posts. It appears only if your agency works in something other than English — otherwise there is no second option to pick. See Huntit and your language.
- Service tier —
Basic/Pro/Enterprise: your own commercial label for the relationship. It gates nothing, so there's no default — pick the one that fits. Not to be confused with follower tier, which describes an audience's size. - Notes (optional) — anything worth remembering.
- Client logo (optional) — fronts this client's pages and their shared reports; without one Huntit uses their own brand's profile picture, and uploading a logo replaces it.
After you submit
On success you land on the new client page, told that you can now add brands and profiles under it. If a client with that name already exists, the form says so inline — names must be unique in your agency.
The next step is adding a brand or creator.